
I remember back in the day when getting a Korean visa meant standing in long lines outside the embassy, which was a real hassle. Call or email appointments are also no longer accepted, visitors are required to book an appointment through Consular Services . Securing an appointment is a lot smoother these days via online booking system. In this guide, I’ll walk you through how to book your visa appointment online. This guide is applicable only if you are applying from Korean visa center in Manila.
1. Access the Korean Visa Reservation Website
Begin by visiting the official Korean visa reservation portal: Visa for Korea. This is the starting point for scheduling your visa appointment.
2. Find the Calendar for Advanced Reservations
Scroll down the homepage until you reach the calendar section labeled “Schedule of Advanced Reservation.” Click the “View More” button to expand the calendar and access the reservation scheduling options.
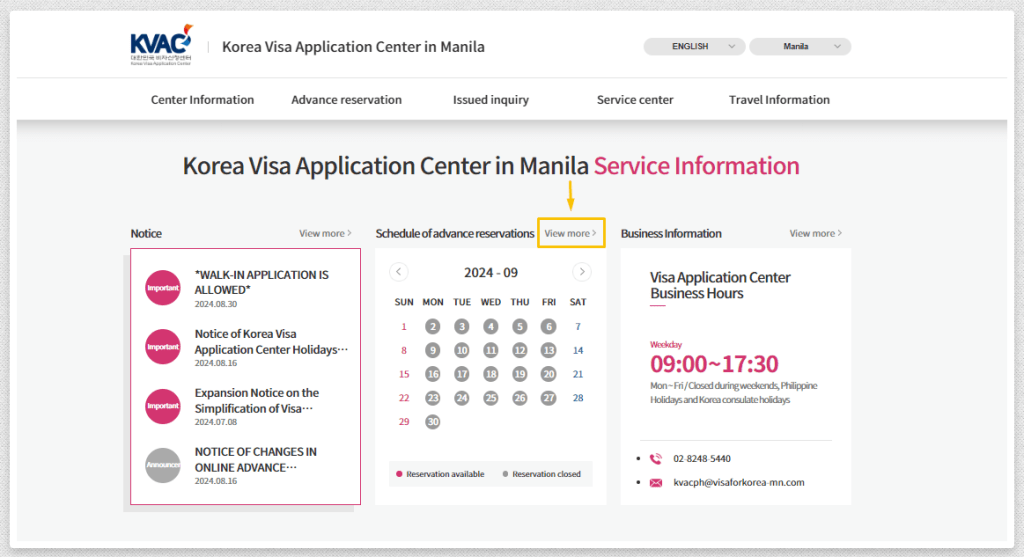
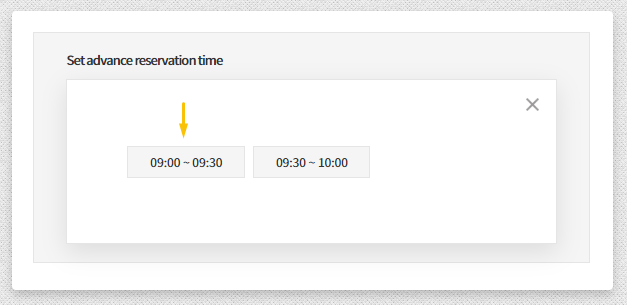
3. Choose Your Appointment Date and Time
Select a date and time for your appointment from the calendar. Make sure to pick a slot that gives you ample time to gather and prepare all required documents for your visa application.

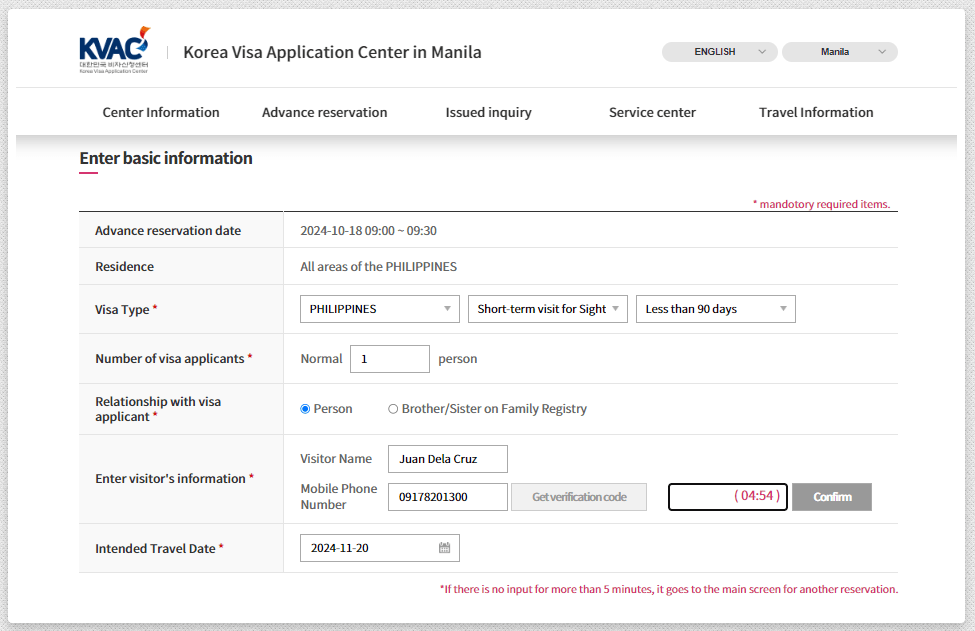
4. Enter Required Personal Information
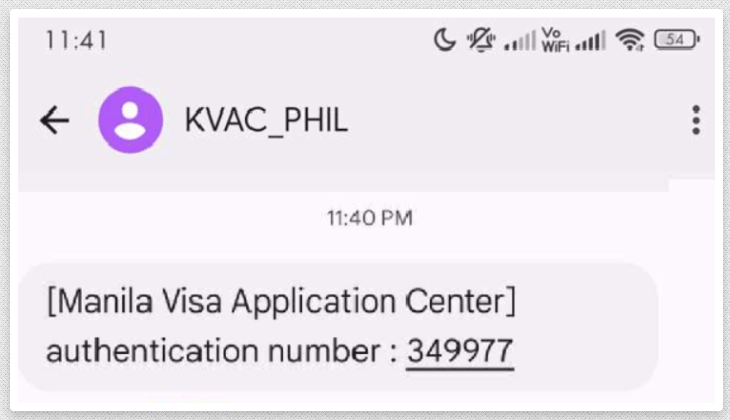
Fill out the form with your personal information. Ensure that you enter a valid cellphone number, as this will be used to send you a confirmation code for your appointment. Double-check the accuracy of your information to prevent any errors.
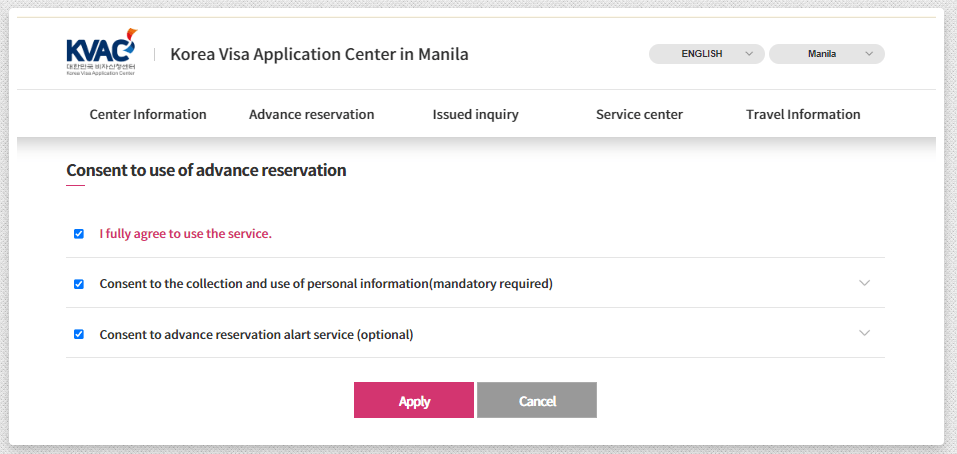
5. Consent to the Terms of Advanced Reservation
You will be required to consent to the terms and conditions related to the advanced reservation system. Carefully review these terms before providing your consent to proceed with the reservation.
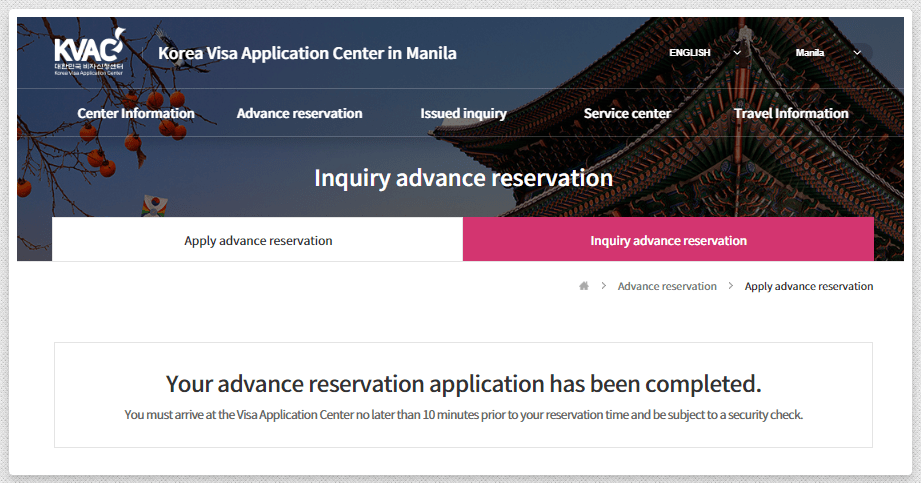
6. Complete and Submit Your Reservation
After entering all required information and providing your consent, submit your reservation request. You will be redirected to a confirmation page indicating that your reservation has been successfully submitted.
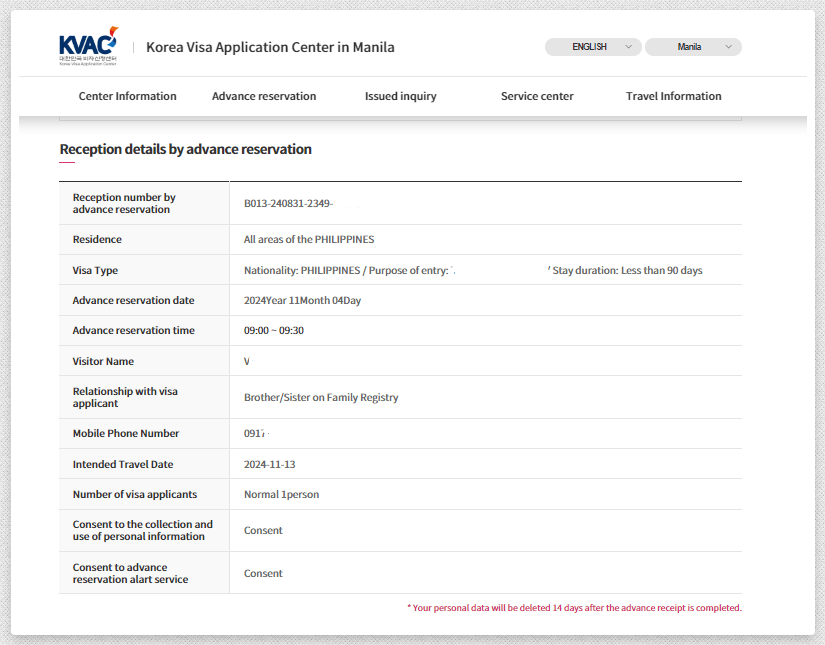
7. Print Your Reservation Confirmation
Bring a printed copy of your reservation confirmation with you to the appointment for verification.

Extra Guidelines to Follow
- Applicants with an advance reservation are required to arrive at least 10-15 minutes prior to the reservation time and submit the reservation sheet.
- Please bring with you your Printed/ Screenshot of Application Confirmation with your Valid ID.
If you run into any issues or have questions along the way, don’t hesitate to check out the official embassy site or get in touch with their support.


Leave a comment