
Planning trips can be a lot of work, but I really enjoy it. But to be honest, it is sometimes exhausting, however, this gives me something exciting to look forward to. I love the whole process, from brainstorming ideas for where to go to finding the best deals and imagining myself exploring new places.
Why DIY Travel?
DIY travel isn’t just about saving money (although that’s a big perk!). For me, it’s about creating trips that match our pace, preferences, and interests. I can decide what works best for us, You can squeeze in as many spots as possible or take it slow and relaxed.
When I started planning our own trips, I realized:
- It’s flexible: I control the itinerary and can make changes anytime.
- It saves money: No extra fees for middlemen or packages.
- It’s fun: Seeing the plans fall into place is so rewarding, and exploring a new country, experiencing everything it has to offer, and even getting lost along the way adds to the excitement for me.
How it Started
Before we dive into how I approach DIY travel, let me give you a little background. Ever since college, I’ve been the go-to person for planning trips with my friends. Road trips, weekend getaways – I’d always be the one researching destinations, comparing prices, and figuring out the best things to do. I guess you could say I’ve always enjoyed the planning process as much as the actual traveling.
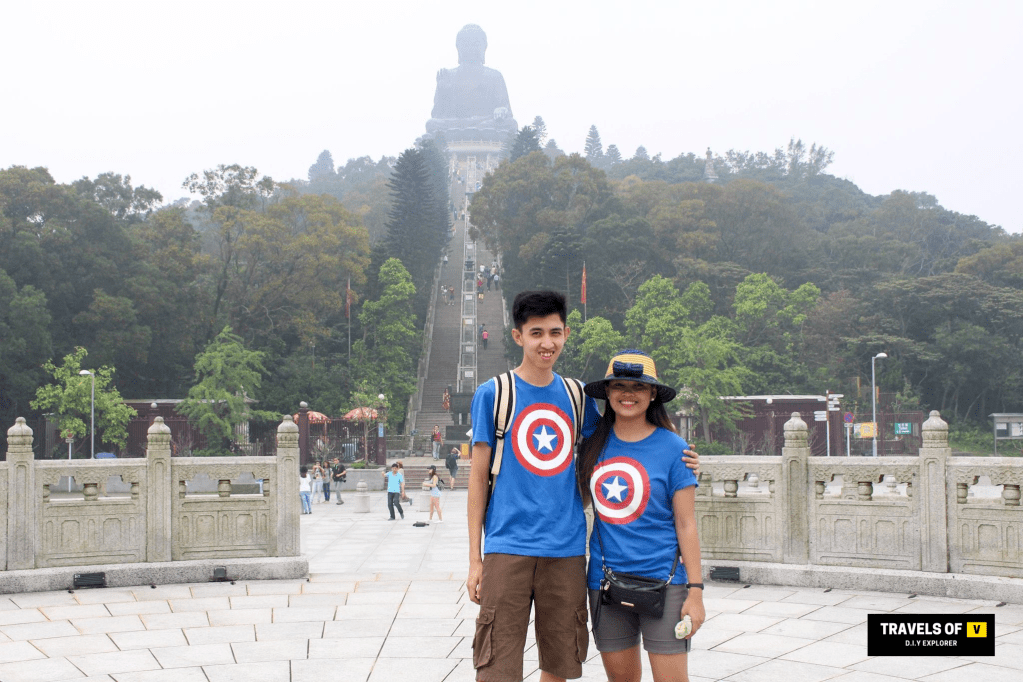
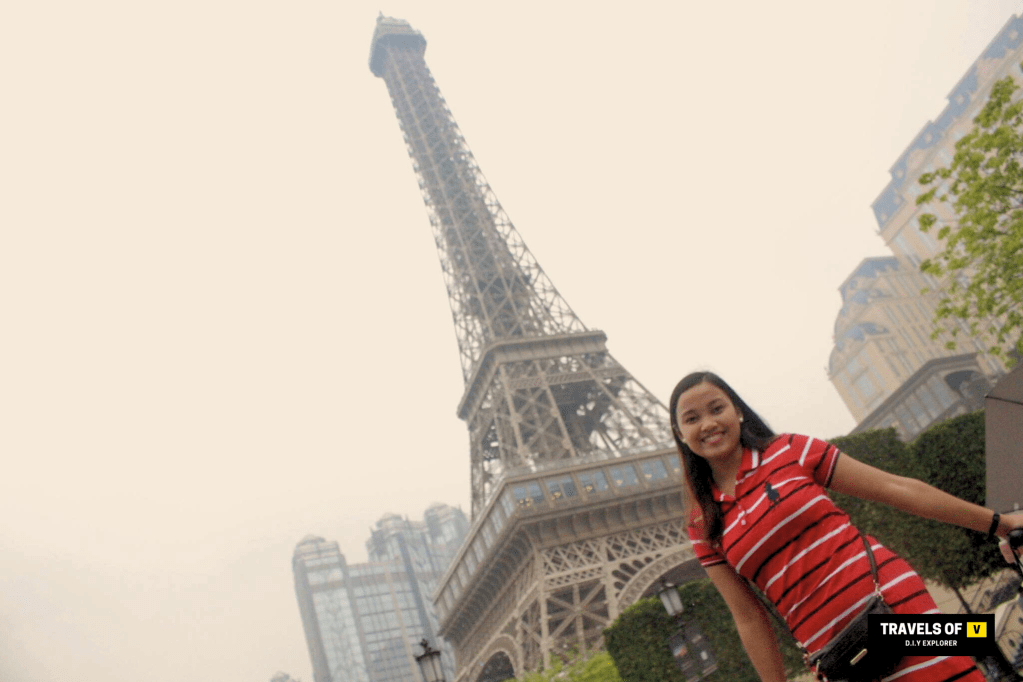
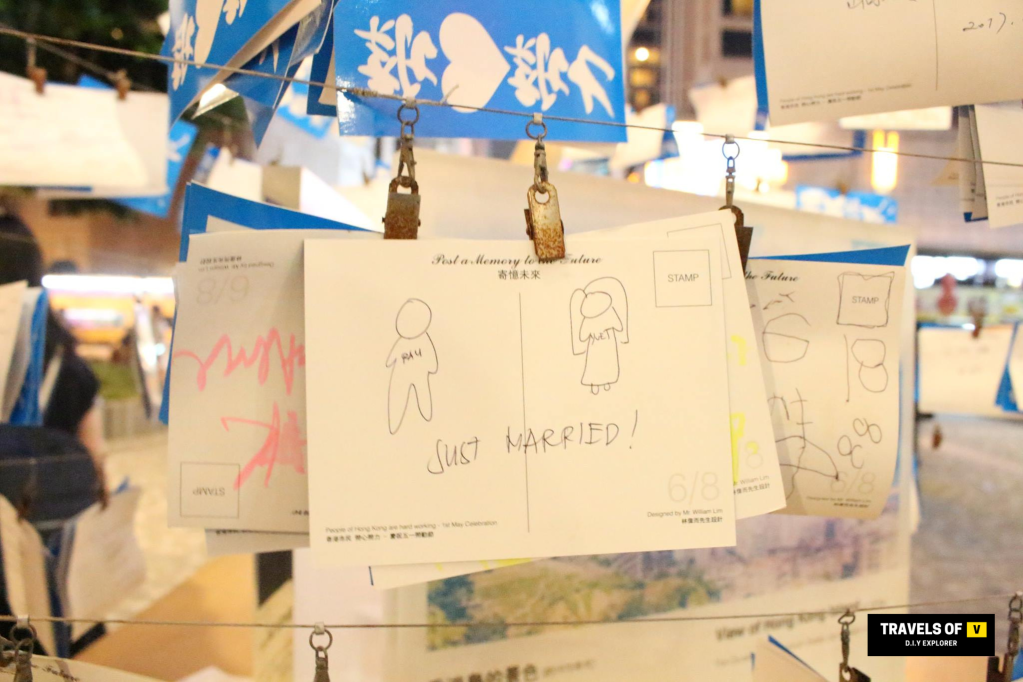
Please note: The photos included in this section are from 2017 and were taken with my phone camera at the time. I apologize for any lower image quality.
You can skip this part if you want to miss the fun part…just kidding!
My official “DIY Travel” journey really kicked off in 2017 when I got married. Our travel to Hong Kong was the first trip I planned entirely on my own. Figuring everything out – flights, hotels, even finding visit worthy places – was a real challenge, but it was also incredibly rewarding.
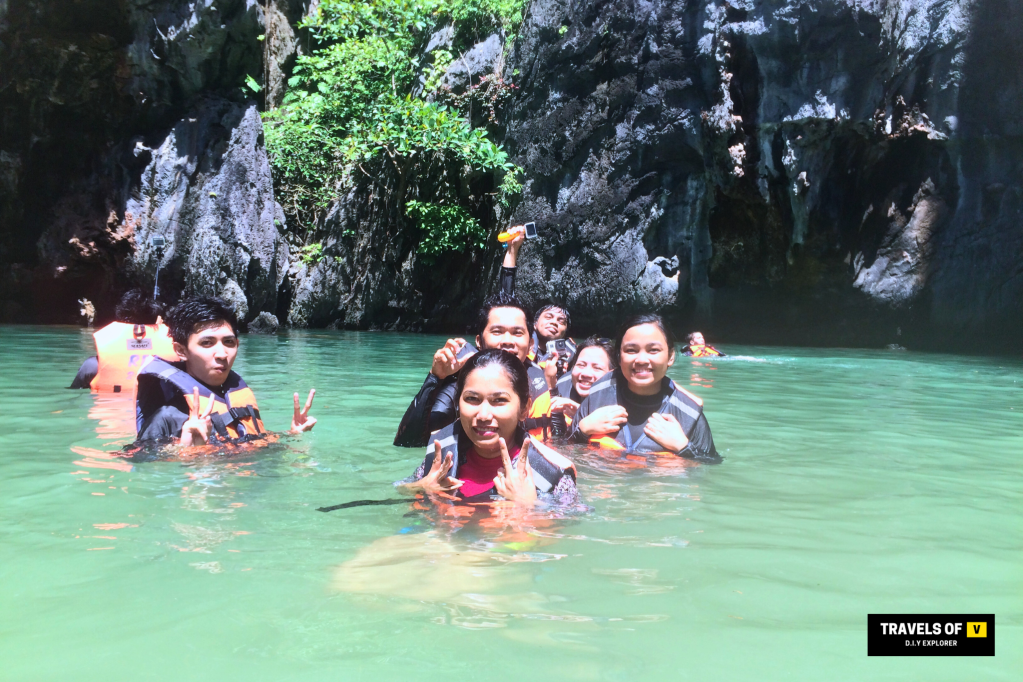
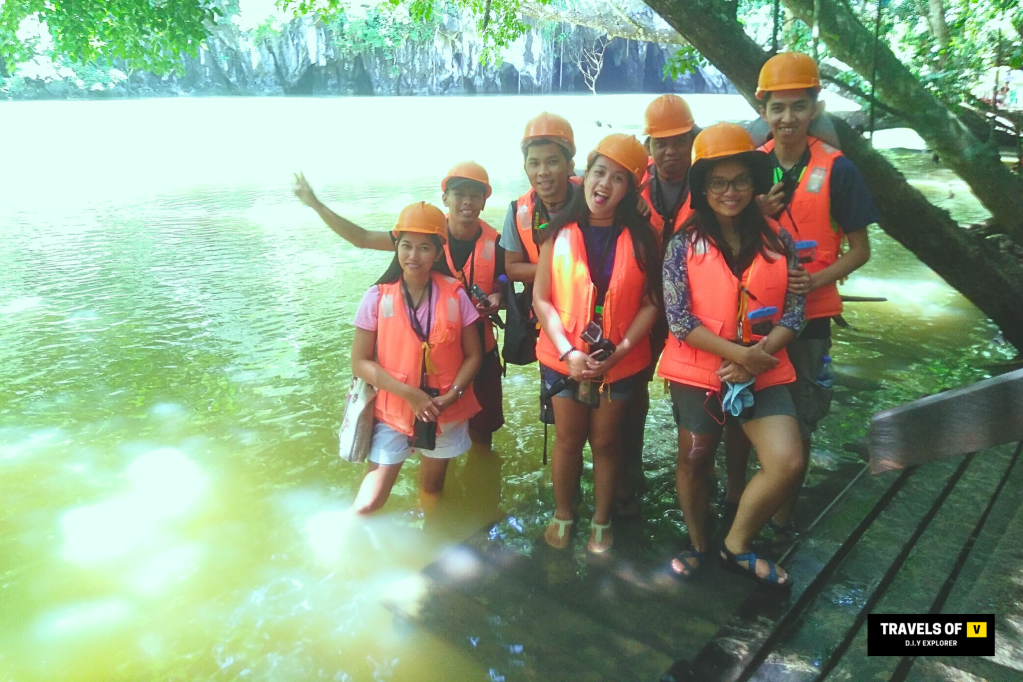
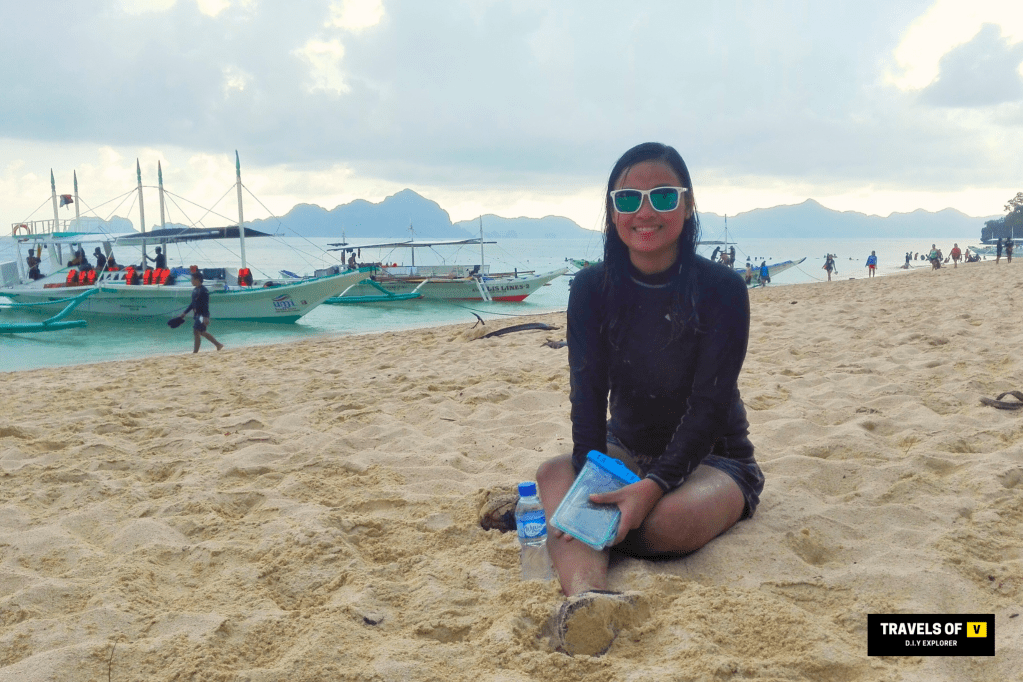
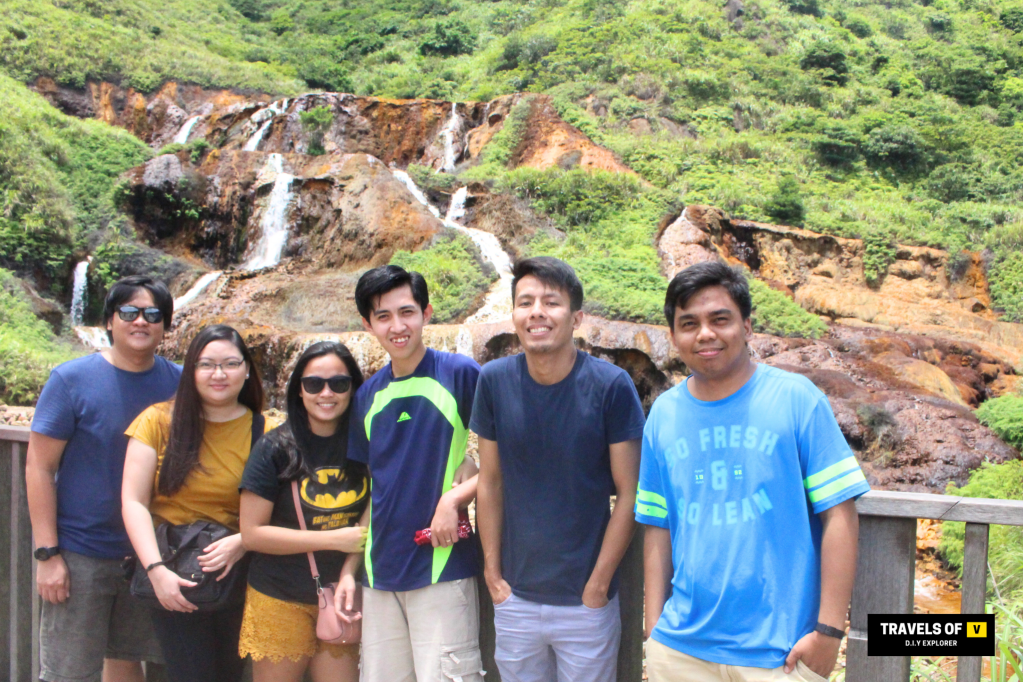
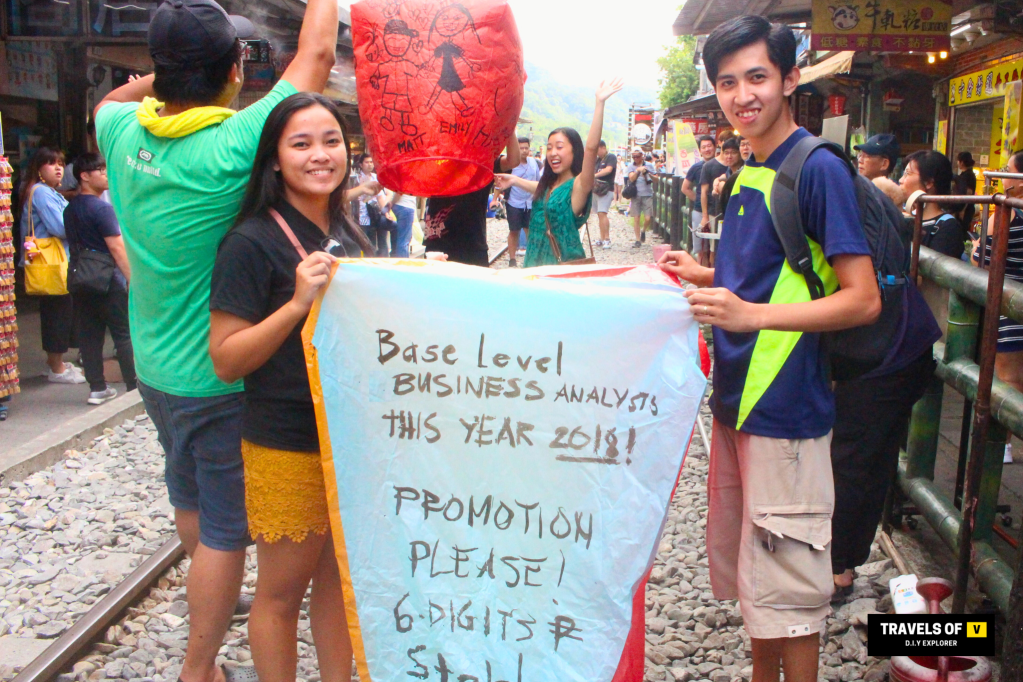
That same year, I planned a trip to Palawan with a group of friends. Let me tell you, coordinating flights, accommodations, and activities for everyone was no easy feat. But pulling it off was a huge confidence boost. To make our Palawan trip even more special, I reached out to a friend who lives there for help with the planning
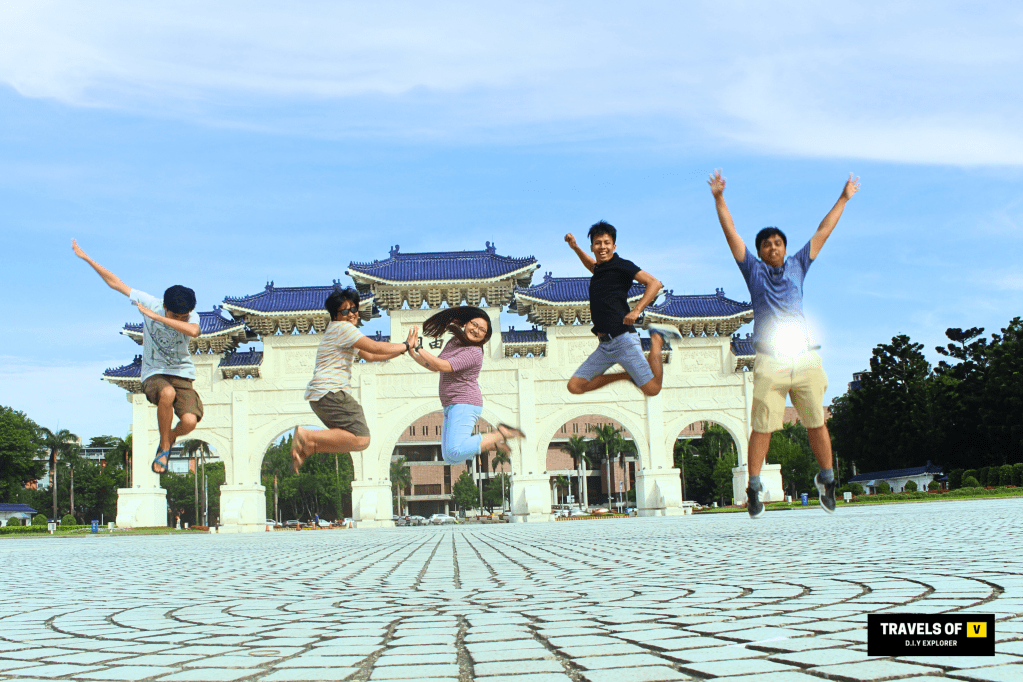
Since then, I’ve been on a DIY travel spree. We’ve been to Singapore, Japan, Korea, Taiwan, Macau – you name it. I love the freedom of choosing exactly what we want to see and do, and the satisfaction of knowing I created an amazing experience for myself and my travel buddies.
I think one of the greatest factors that keeps me doing DIY travel is that it helps my mental health. The planning process gives me something to focus on and look forward to.
I’ve learned that DIY travel is more than just booking flights and hotels. It’s about embracing the challenge, figuring things out as you go.
Step 1: Research Your Destination
I dedicate time to research, as it’s the foundation of any trip. Balancing work and family in my daily life, I typically give myself a three-month timeline for planning and research. Sounds like a lot, right? But I only research during my free time. As a start i typically search the following:
- When is the best time to visit?
- What are the must-visit spots?
- How do locals get around?
- How much would it cost?
I use a combination of blogs, YouTube vlogs, and even Facebook groups for inspiration and tips.
Step 2: Organize Everything
Here’s my secret weapon: Google Sheets. This is where I keep all my research and plans in one place. I create multiple tabs to organize everything:
- Itinerary: The daily schedule with activities and estimated travel times.
- Expenses: A detailed budget tracker with categories like flights, hotels, entrance fees, transportation, and food.
- Activities: A list of attractions with details like entrance fees and operating hours.
- Places to Go: Locations I’d like to visit, grouped by area.
- Food to Try: Local dishes and recommended restaurants or street food.
- Hotels: Accommodation options with prices, reviews, and proximity to transport.
I update the spreadsheet regularly as I research and compare options. This allows me to easily summarize all the information and finalize the best choices for our trip.
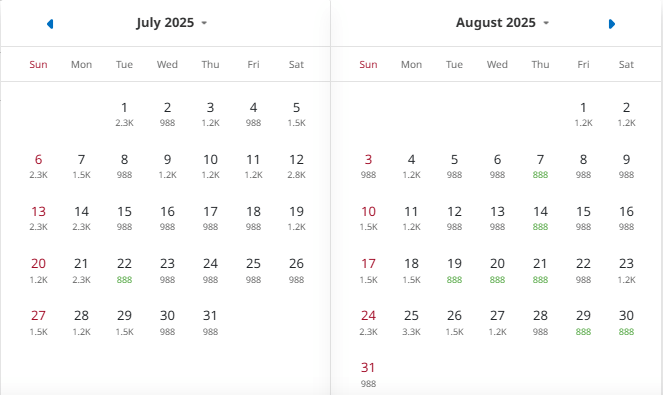
Step 3: Book Flights
Here’s a disclaimer: This is only for me, and I don’t necessarily recommend this approach to others. But whenever there’s a seat sale, I book tickets first and then plan everything after. I take advantage of affordable flight deals to save money and use it for other travel expenses.
It sounds risky, but it works for me. Once the tickets are secured, I start building the rest of the trip around the destination and dates. If this approach feels too spontaneous for you, then it’s better to plan first before booking flights.
If you want a safer strategy, here are some tips:
- Book early: Flights are often cheaper months in advance.
- Be flexible: Flying mid-week or during off-peak hours can save a lot.
Step 4: Book Activities, Pocket WiFi, and SIM Cards
I usually book all activities, pocket WiFi, and SIM cards on Klook, and here’s why:
- Convenience: Everything is online, and I can book from home without the hassle of waiting in lines.
- Discounts: Klook often has promotions, bundles, or lower prices compared to on-site booking.
- Reviews: I read other travelers’ experiences to know what to expect.
For instance, I bought my tickets for Skyline Luge Singapore through Klook, and it made the whole process so much easier. Plus, booking a pocket WiFi ensures I stay connected throughout the trip, which is crucial for navigating and looking up information.

Step 5: Navigation Tool
Google Maps is my ultimate travel buddy. I use it for:
- Directions: Whether it’s walking, driving, or taking public transport, Google Maps is super reliable for navigating unfamiliar cities.
- Travel times: It helps me estimate how long it will take to get from one place to another.
- Nearby recommendations: I check for restaurants, cafes, or attractions near my location.
Throughout my Japan trip, I used Google Maps every day, particularly for navigating. It was truly a lifesaver! But keep in mind, there are some countries where Google Maps might not be as reliable as it should be. For example, in Korea, they primarily use Naver Maps, so it’s a good idea to check the local map options and their reliability in advance.
Step 6: Choose Accommodations Wisely
Picking the right place to stay is crucial. I always look for accommodations that are:
- Near public transport.
- Close to attractions or convenience stores.
- Within budget.
Here are some more tips:
- Location: Choose a place close to attractions or public transport. Ensure the neighborhood is safe, especially at night.
- Budget: Stick to your budget, factoring in all fees like taxes or hidden charges. Avoid peak season prices if possible.
- Reviews: Read recent reviews on trusted platforms. Pay attention to comments on cleanliness, comfort, and noise levels.
- Amenities: Look for essential amenities like Wi-Fi, air conditioning, and comfortable bedding. Consider extras like breakfast or a pool if important to you.
- Hidden Fees: Be aware of additional charges such as resort or cleaning fees that might not be included in the initial price.
- Accommodation Type: Choose the right type for your needs—hotels for convenience, hostels for budget, or apartments for longer stays.
- Booking Flexibility: Ensure the place offers flexible cancellation policies, in case your plans change.
- Accessibility: If traveling with kids or elderly, confirm that the accommodation is accessible with necessary features like elevators or ramps.
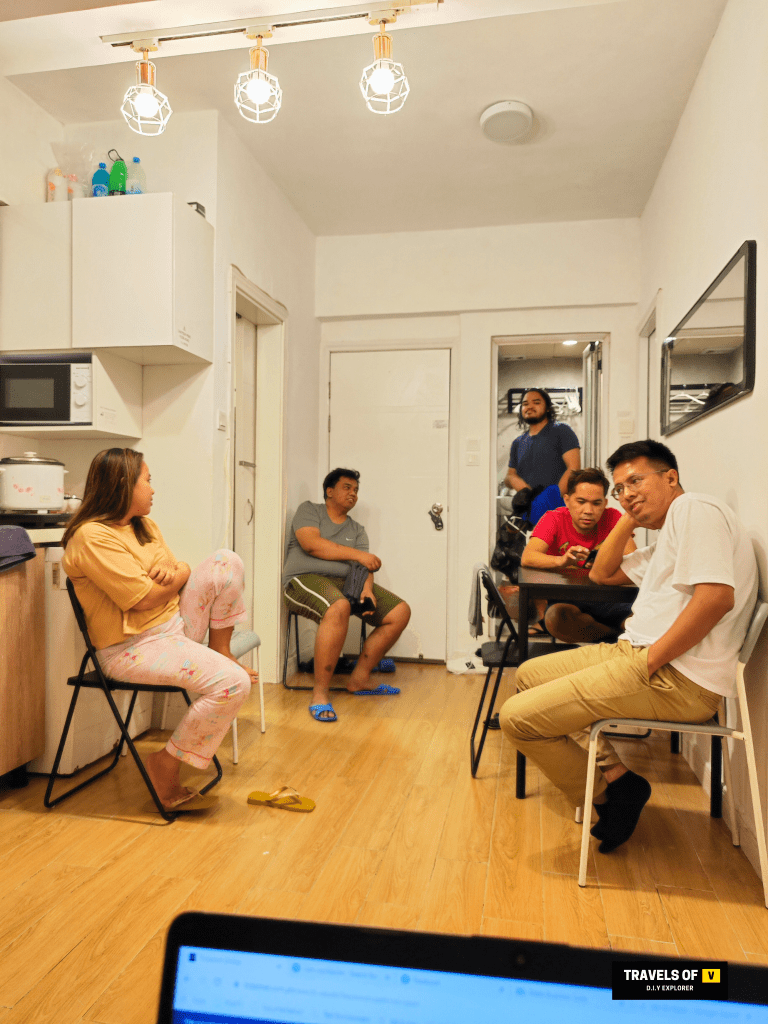
Traveling with kids, especially in groups, can be challenging. We often choose Airbnb because it offers a great balance of communal and private spaces. We love gathering in the common area to share our day’s adventures, and having a kitchen is a huge plus, especially for our picky eaters. It’s worth noting that Airbnb isn’t for everyone. Some travelers prefer the convenience and consistency of hotels. However, for my family and friends and travel style, it’s been a fantastic option.
Step 7: Prepare Your Essentials
Packing can make or break a trip, so I always follow a checklist:
- Travel documents, passports, and itinerary copies.
- Clothing based on the weather (don’t underestimate hot or cold days!).
- Snacks and entertainment for my son, especially for long flights or road trips.
To Share My Final Thoughts
I won’t sugarcoat it, planning a trip can be challenging. There are moments when I feel overwhelmed with options or worry if I’ve missed something. But when the trip finally happens, all the effort pays off. It’s fulfilling to know I planned everything and seeing my family and friends enjoy the experience makes it even better.
DIY travel might sound intimidating at first, but it’s worth trying. Start with small trips, experiment, and see what works for you. The more you do it, the more confident you’ll become.
For me, every trip is a learning experience, and I wouldn’t trade the process for anything. If you’re ready to dive into your own DIY adventure, just remember: a little research and planning go a long way.
Let me know in the comments if you have any DIY travel tips or questions!
Happy travels!
V


Leave a comment